Introduction
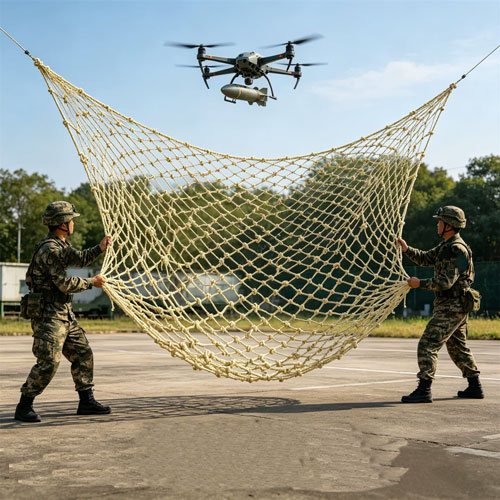
Installing an anti-drone net is a practical and effective way to protect your facility from unauthorized UAV intrusions. Whether you are securing a military base, airport, prison, or corporate campus, proper installation is critical to ensure the net performs as intended. This anti drone net installation guide walks you through every stage — from choosing the right tools and assessing your site to tensioning the net and completing the setup. By the end, you will understand exactly what it takes to install a reliable drone defense system.
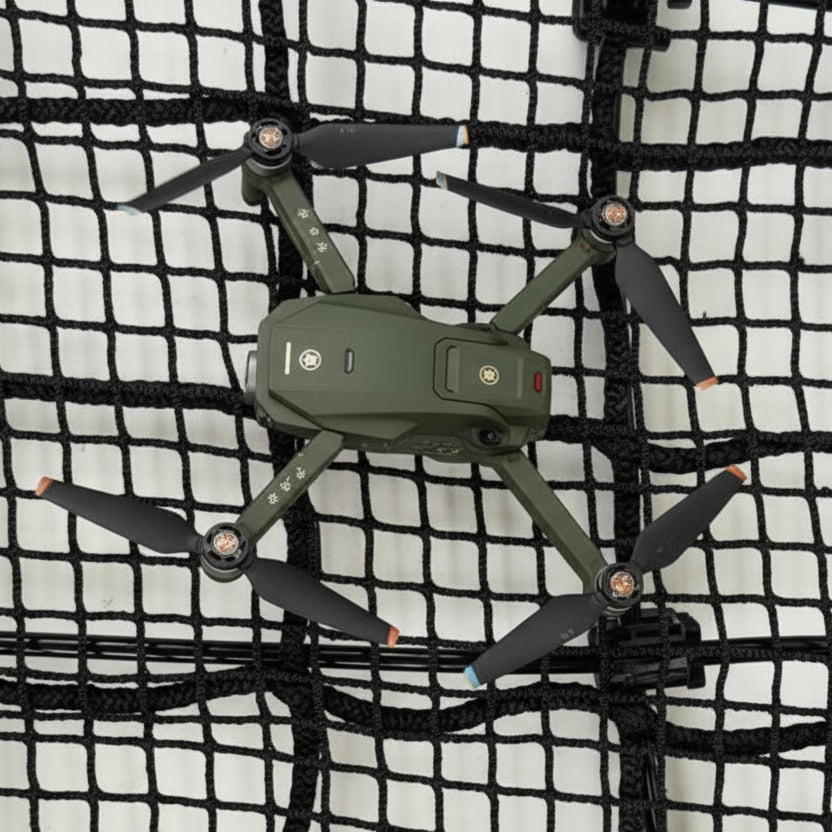
Unlike electronic countermeasures such as jammers or detection radar, physical anti-drone nets provide a passive, fail-safe barrier that captures drones on contact. However, the effectiveness of the system depends heavily on correct installation. A poorly installed net can sag, tear, or leave gaps that drones can exploit. This guide covers the key steps for both ground-level and rooftop anti-drone net installation, including hardware selection, pole mounting, and proper tensioning techniques.
Tools and Materials Needed for Anti Drone Net Installation
Essential Tools Checklist
Before you begin the anti drone net installation guide, gather the following tools and equipment. Having everything ready beforehand will streamline the process and prevent delays.
- Measuring tape and laser distance measurer — for accurate site dimensions and pole spacing
- Post hole digger or auger — for setting mounting poles into concrete foundations
- Concrete mix and mixing tools — to secure pole bases firmly in the ground
- Bolt cutters or wire cutters — for trimming netting to size
- Ratchet straps and come-along winch — essential for the anti-drone net tensioning procedure
- ladder and scaffolding — for elevated and rooftop anti-drone net installation work
- Drill with masonry bits and impact driver — for attaching mounting brackets to walls, roofs, or fence posts
- Stainless steel carabiners, D-rings, and turnbuckles — these form the connection points between netting and support structure
- Safety harness and hard hat — mandatory when working at height
- Gloves and eye protection — the netting material can have sharp cut edges
Materials Checklist
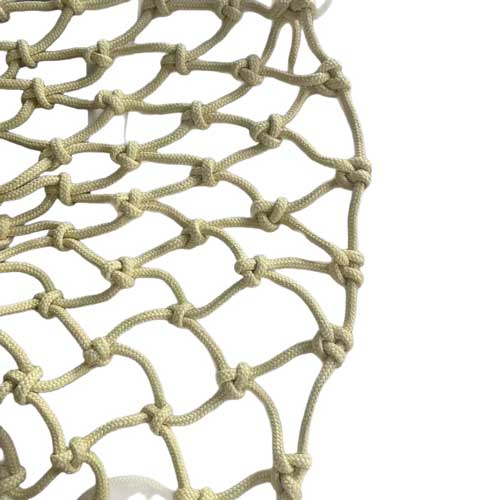
- Anti-drone mesh netting — aramid fiber or stainless steel rope mesh, cut to your measured dimensions
- Steel mounting poles — galvanized or powder-coated for corrosion resistance, typically 3–8 meters tall depending on coverage needs
- Foundation anchors and bolts — heavy-duty expansion anchors for concrete, or ground screws for soil
- Cable ties and zip ties — UV-resistant grade for securing net edges
- Tension cables and wire rope clips — for creating the top and bottom tension lines
The specific anti drone net pole mounting installation hardware you need will depend on the surface type. Concrete surfaces require expansion anchors and base plates, while steel structures can use welded brackets or beam clamps. For roof installations, non-penetrating ballast blocks are often preferred to preserve waterproofing.
Pre-Installation Planning and Site Assessment
Proper planning is the foundation of any successful anti-drone net installation. Rushing into setup without a thorough site assessment often leads to structural issues, inadequate coverage, or having to redo the work entirely.
Site Assessment and Measurement
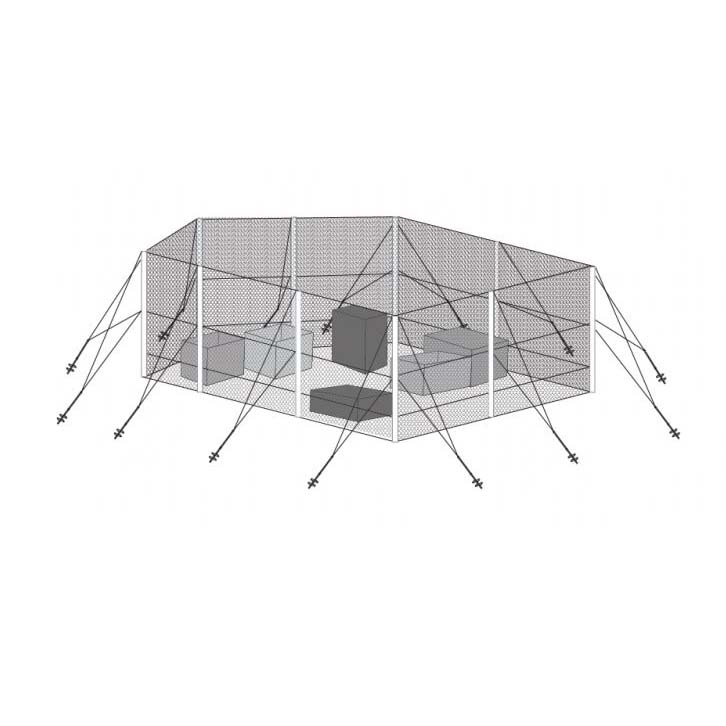
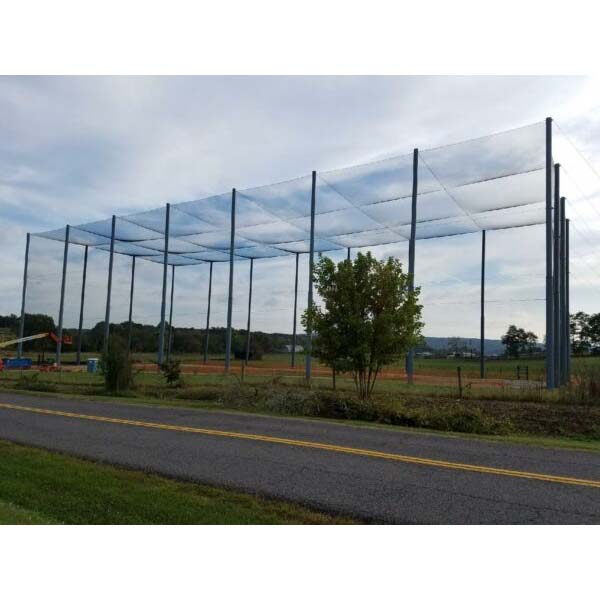
Start by surveying the area you need to protect. Measure the length, width, and height constraints of the perimeter or overhead zone. Identify existing structures such as fence posts, building walls, or steel beams that can serve as anchor points. Map out the locations where mounting poles will be placed — typically every 5–10 meters depending on the net type and wind load in your region.
Consider environmental factors: wind speed, snow load, and nearby trees or power lines. Aramid fiber nets are lightweight and handle wind well, but stainless steel rope mesh is heavier and needs stronger support. For coastal areas, choose corrosion-resistant hardware such as AISI 316 stainless steel.
Determining the Right Installation Height
What height should anti-drone nets be installed at? For perimeter fence installations, the net should extend at least 3–5 meters above the top of the existing fence to create an effective barrier against recreational and commercial drones. For overhead coverage (e.g., protecting a courtyard or equipment yard), the net should be suspended at a height that allows normal operations beneath it while preventing drone access from above. Most fixed installations use poles between 6 and 12 meters tall. Facilities near airports or in high-risk zones may require taller structures to intercept drones flying at higher approach altitudes.
Installing on Existing Fence Structures
Can anti-drone nets be installed on existing fence structures? Yes, in many cases you can retrofit an anti-drone net onto an existing perimeter fence. This is one of the most cost-effective approaches. The existing fence posts must be structurally adequate to handle the additional wind load of the netting. You will need to install extension arms or outriggers at the top of each fence post to angle the net outward slightly — this improves the net catching angle for drones approaching from above. The anti-drone mesh installation method for retrofitting involves attaching the net to the top rail of the fence using heavy-duty carabiners and running a tension cable along the full length. Ensure the fence base is concreted, or reinforce the posts if they were originally installed for light-security fencing only.
Anti Drone Net Installation Guide: Step-by-Step Setup
With your site assessed and materials ready, you can now begin the installation process. This anti drone net installation guide section breaks down the main steps in detail.
Step 1: Pole Mounting Installation Hardware and Setup
The first structural task is installing the support poles. Select galvanized steel or aluminum poles rated for the weight of your netting material. For a standard perimeter setup:
- Dig foundation holes — at least 600 mm deep and 300 mm wide for poles up to 6 meters tall. Larger poles need deeper foundations.
- Insert anchor cages — place rebar cages or prefabricated anchor bases into the holes.
- Pour concrete — use C25/30 grade concrete and allow 48–72 hours for full curing before applying load.
- Mount pole base plates — bolt the pole base plates to the anchor bolts using the anti drone net pole mounting installation hardware provided. Use a spirit level to ensure each pole is perfectly vertical.
- Attach pulley systems or cable guides — at the top and bottom of each pole, install stainless steel pulleys or cable guides that will route the tension cables.
For rooftop anti drone net installation, use non-penetrating ballast blocks instead of drilling into the roof membrane. These weighted blocks (typically 100–200 kg each) hold the poles securely without compromising roof waterproofing.
Step 2: Running the Support Cables
Once poles are secure, run two parallel tension cables (top and bottom) between each pole. Use 6–8 mm galvanized steel wire rope. Attach one end to an anchor point, thread through the pulleys, and temporarily tension with a ratchet. This creates the frame onto which the netting will attach.
Step 3: Rooftop Anti Drone Net Installation
Rooftop installations require special consideration because roof structures differ from ground-level setups. If you are following a rooftop anti drone net installation plan, here are the key differences:
- Use ballasted bases rather than penetrating anchors to maintain roof warranty and waterproofing.
- Space poles closer together (every 4–6 meters) because roof wind loads are higher and the net exerts greater uplift force.
- Install a catwalk or maintenance access path under the net for periodic inspection and debris removal.
- Ensure the net is angled at 30–45 degrees from vertical — this creates a better catch surface for drones approaching from above and reduces wind loading.
Step 4: Anti Drone Mesh Installation Method
The anti drone mesh installation method varies slightly depending on whether you are using aramid fiber netting or stainless steel rope mesh:
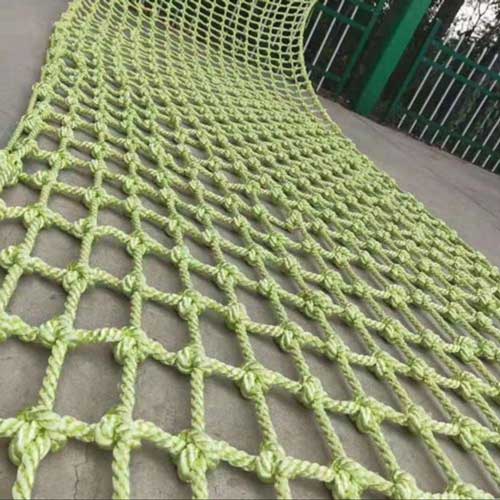
- Aramid fiber netting: Unroll the net along the ground, attach the top edge to the upper tension cable using carabiners every 50 cm, then hoist the net into position using a rope or pulley system. After hoisting, attach the bottom edge to the lower tension cable.
- Stainless steel rope mesh: This material is heavier. Use a mechanical hoist or winch to lift the mesh into position. Secure with wire rope clips and thimbles at each connection point. Stainless steel mesh requires more robust tensioning hardware.
- Seaming multiple panels: For large areas, you will likely need multiple net panels. Overlap adjacent panels by at least 15 cm and lace them together with UV-resistant zip ties or stainless steel lacing wire every 20 cm.
For both materials, the mesh should be installed loosely initially — final tensioning is a separate step after all panels are hung. Following this anti drone net installation guide closely will ensure your system functions reliably for years.
Anti-Drone Net Tensioning Procedure
Proper tensioning is arguably the most critical part of the installation. An under-tensioned net will sag and fail to intercept drones effectively. Over-tensioning can damage the mesh or put excessive stress on mounting poles. Below is the recommended anti drone net tensioning installation procedure.
Tensioning Sequence
- Initial manual tension: After all net panels are hung, begin tensioning from one end using the ratchet straps on the top cable. Pull the cable until the net is taut but not rigid — you should see the mesh diamond shapes open evenly.
- Bottom cable tensioning: Once the top cable is tensioned, move to the bottom cable. Apply even tension using turnbuckles or come-along winches. The goal is to create a drum-tight surface without distorting the mesh pattern.
- Intermediate tension points: For installations longer than 30 meters, install intermediate tension posts every 15–20 meters to prevent the cable from sagging between main poles. These intermediate posts can be lighter duty than the main corner or end poles.
- Final adjustment: Walk the entire length of the installation and check for loose spots. Use a tension gauge if available — aramid fiber nets typically need 200–400 N of tension per linear meter, while steel mesh requires 500–800 N/m.
- Lock all hardware: Once correct tension is achieved, lock all turnbuckles with lock nuts or wire ties to prevent vibration from loosening them over time.
What Is the Proper Tensioning Procedure for Anti-Drone Nets?
To directly answer this question: the proper procedure involves tensioning the top cable first, then the bottom cable, then performing fine adjustments systematically from one end to the other. Never tension all cables simultaneously — work in sequence. After 24 hours, recheck tension as the netting and cables will have settled slightly. Retension after the first week and then quarterly as part of routine maintenance. Cold weather can cause cable contraction and increase tension, while hot weather causes expansion and slack — seasonal adjustment may be needed in regions with wide temperature swings.
Installation Timeline: How Long Does It Take?
How long does anti-drone net installation take? The total installation time depends on the size of the area, site conditions, and whether you are working with a professional crew or a DIY team. Below are typical timelines for common installation scenarios.
| Installation Type | Estimated Time | Crew Size |
|---|---|---|
| Small perimeter (50 m length, 6 m height) | 2–3 days | 3–4 workers |
| Medium perimeter (200 m length, 8 m height) | 5–7 days | 4–6 workers |
| Rooftop installation (1000 m² coverage) | 3–5 days | 3–5 workers |
| Large industrial site (500 m+ perimeter) | 10–14 days | 6–8 workers |
What Affects Installation Speed?
- Concrete curing time: Foundation concrete requires 48–72 hours before poles can be loaded. This is often the critical path item.
- Site accessibility: Sites with limited vehicle access or uneven terrain take longer because materials must be moved manually.
- Existing structures: Retrofitting to existing fences or buildings can be faster than installing new poles from scratch, saving 1–2 days.
- Weather conditions: Rain and high winds halt installation work. Plan for 20–30% weather contingency in your schedule.
- Permits and approvals: In some jurisdictions, you may need permits for structures over a certain height. Factor in 1–4 weeks for permit processing before installation can begin.
If you are doing a DIY installation with a small team, add 30–50% more time to the estimates above. Professional crews have specialized tools and experience that significantly speed up the process.
Professional Installation vs DIY
A common question is: Do I need professional installation for anti-drone netting? The answer depends on several factors including the scale of the project, the type of structure, and your team technical capabilities.
When Professional Installation Is Recommended
- Large-scale perimeter systems — any installation longer than 100 meters or taller than 8 meters requires structural engineering knowledge to ensure pole foundations and wind load ratings are correct. Professionals will also have the heavy machinery (augers, concrete mixers, mechanical hoists) needed for the job.
- Critical security sites — military bases, airports, government facilities, and prisons typically require certified installation to meet security standards. The installation may need to pass an acceptance test before the system is considered operational.
- Complex rooftop installations — rooftop anti-drone net installation involves structural load calculations, waterproofing considerations, and safety compliance. A professional installer understands these requirements and can avoid costly mistakes.
- Warranty requirements — many netting manufacturers require professional installation to keep the warranty valid. Check with your supplier before proceeding with self-installation.
When DIY Installation Is Feasible
- Small perimeter sections — a 20–30 meter section on an existing fence using standard mounting kits can be handled by a competent DIY team with basic construction skills.
- Portable or temporary setups — freestanding net systems with weighted bases (no concrete) are designed for self-installation and can be assembled in a few hours.
- Supplemental coverage — adding netting to an existing installation to close a gap or extend coverage is well within DIY capabilities.
If you choose to DIY, ensure you have thoroughly reviewed an anti drone net installation guide, have the correct anti drone net pole mounting installation hardware, and understand the anti drone net tensioning installation procedure. Having a structural engineer review your plan is still advisable even if you do the physical installation yourself.
Conclusion
Installing an anti-drone net is a structured process that rewards careful planning and methodical execution. From gathering the right tools and assessing your site to choosing between rooftop and ground-level configurations, each step impacts the final effectiveness of your drone defense system.
To summarize the key takeaways from this anti drone net installation guide:
- Plan thoroughly — measure your site, determine the right height (generally 3–5 meters above existing fences or 6–12 meters for standalone poles), and confirm that existing structures can support the netting load.
- Use proper hardware — galvanized or stainless steel poles, concrete foundations, and high-quality tensioning hardware are essential for a durable installation.
- Tension systematically — the anti-drone net tensioning procedure should follow a top-first, then bottom sequence, with periodic retensioning as the system settles.
- Consider professional help — while small-scale DIY installations are possible, large or critical systems benefit significantly from professional installation expertise.
If you are planning a new installation and need assistance with system design, hardware selection, or finding a certified installer, contact our team. We provide end-to-end support for anti drone mesh installation method selection, custom net fabrication, and turnkey installation services worldwide.
For more information about anti-drone netting products, specifications, and pricing, explore our product range or read our detailed technical guides.